Introduction
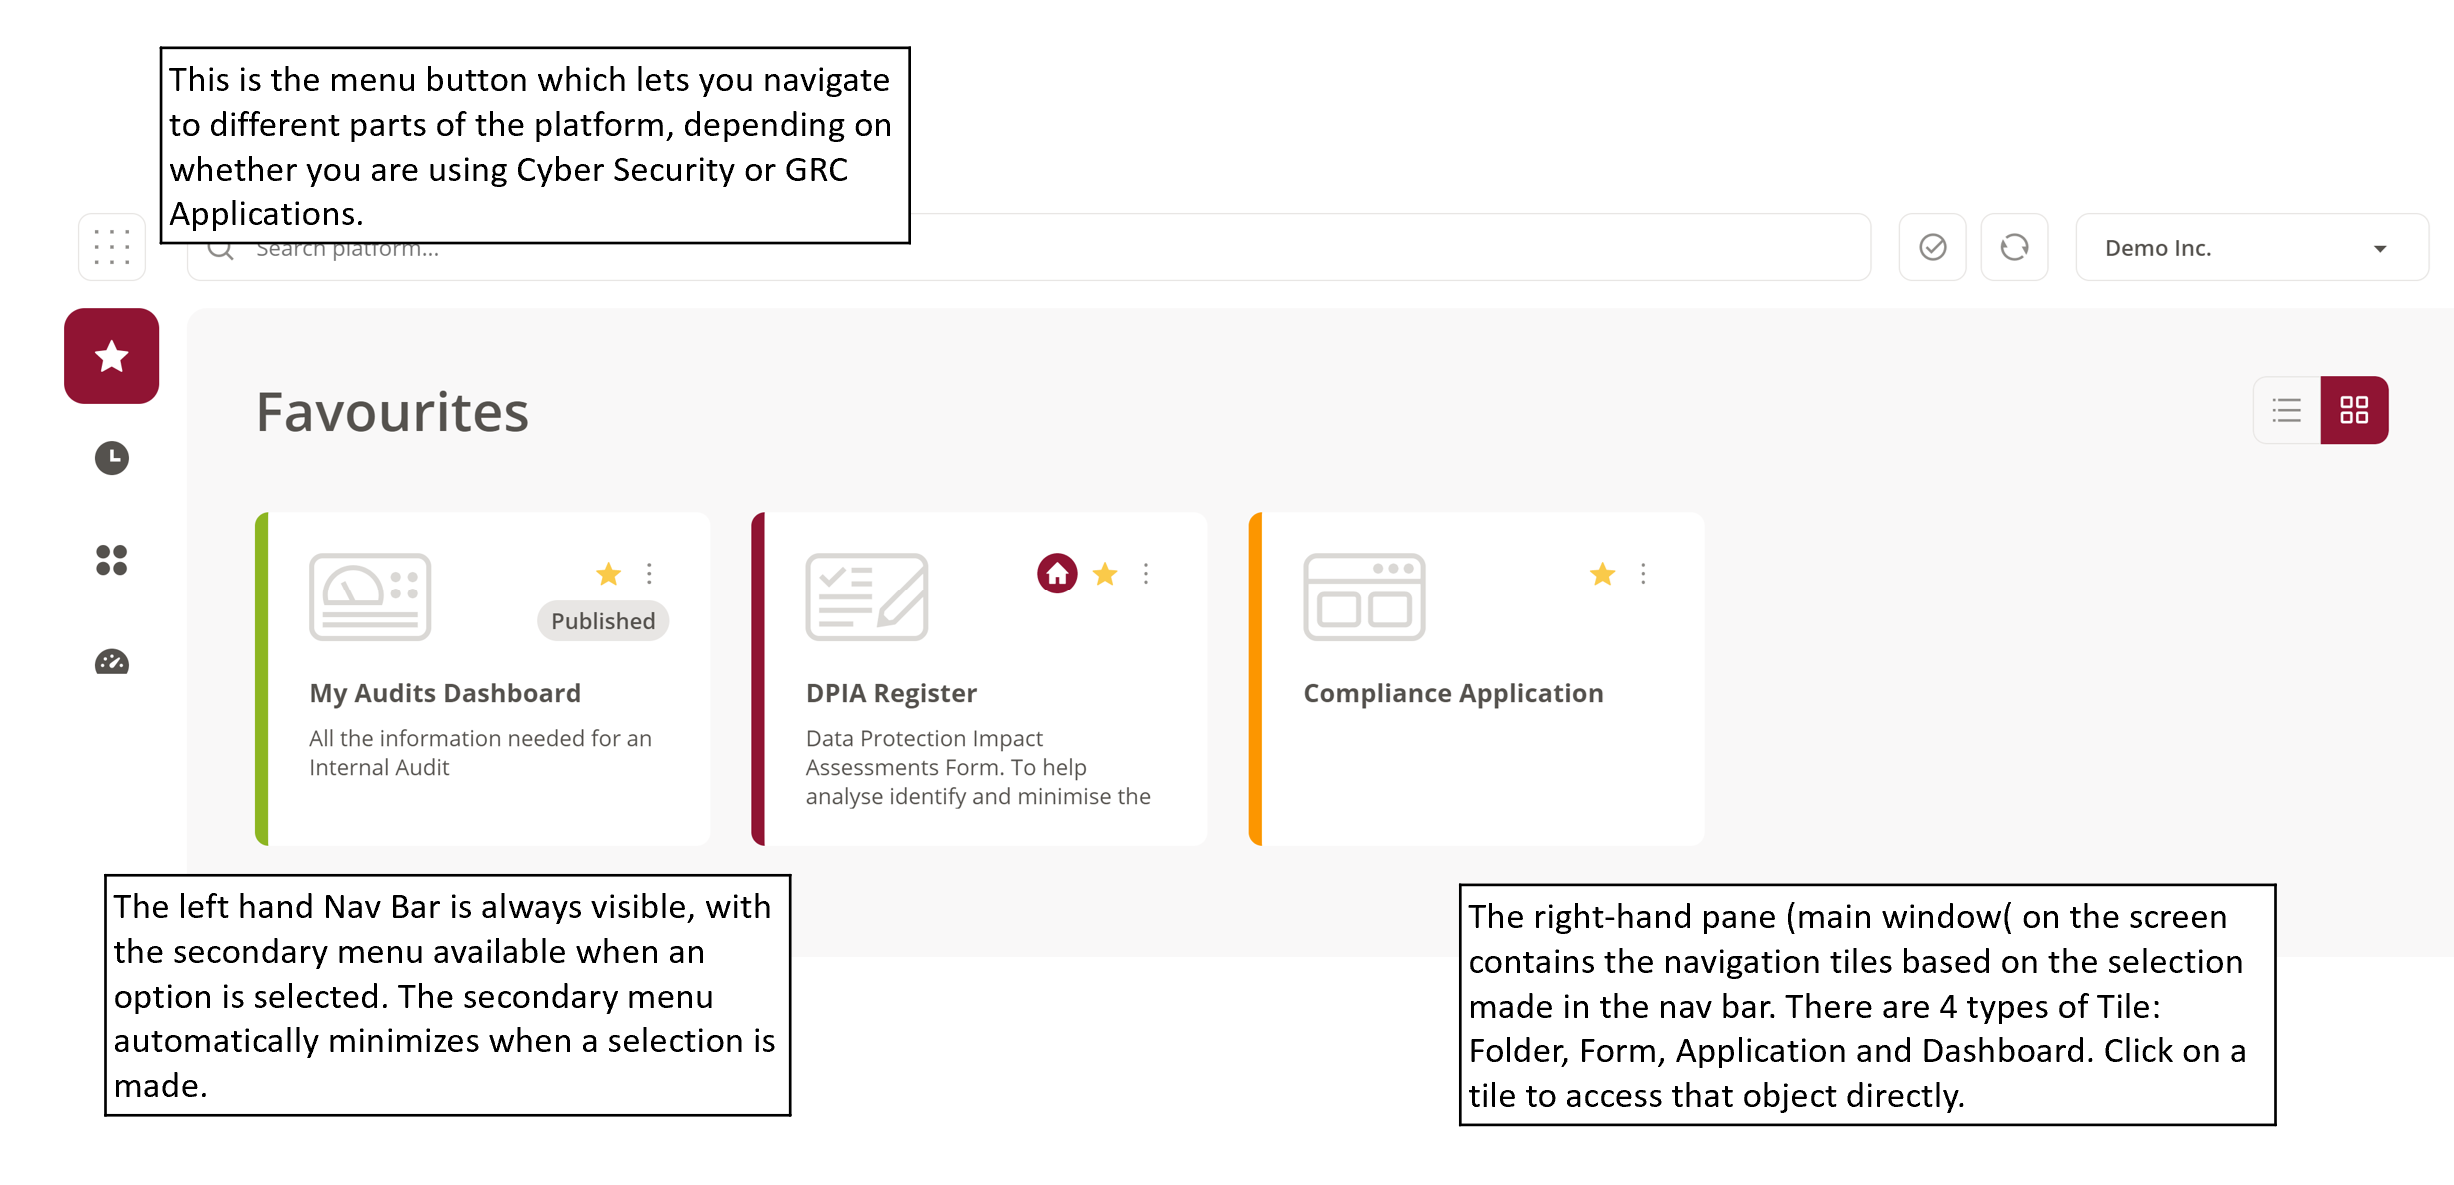
The SureCloud Tiles User Interface (UI) is based around two key concepts; Tiles (for navigating to places within the SureCloud platform and a new Nav Bar (to give you quick and easy access to Tiles).
If you want some help getting started with the Tiles interface click here.
Tiles
A tile represents an object in SureCloud; A Form or questionnaire, a Folder, a Dashboard, an Application, a list of Vulnerabilities, list of Assets or an action that achieves something. The name that appears on a tile is directly derived from the object it represents. For example; a Dashboard called “GDPR Dashboard” will have that same name on its tile. If the Dashboard is renamed, then the associated tile will also be renamed to match. The same holds true for Forms and Folders.
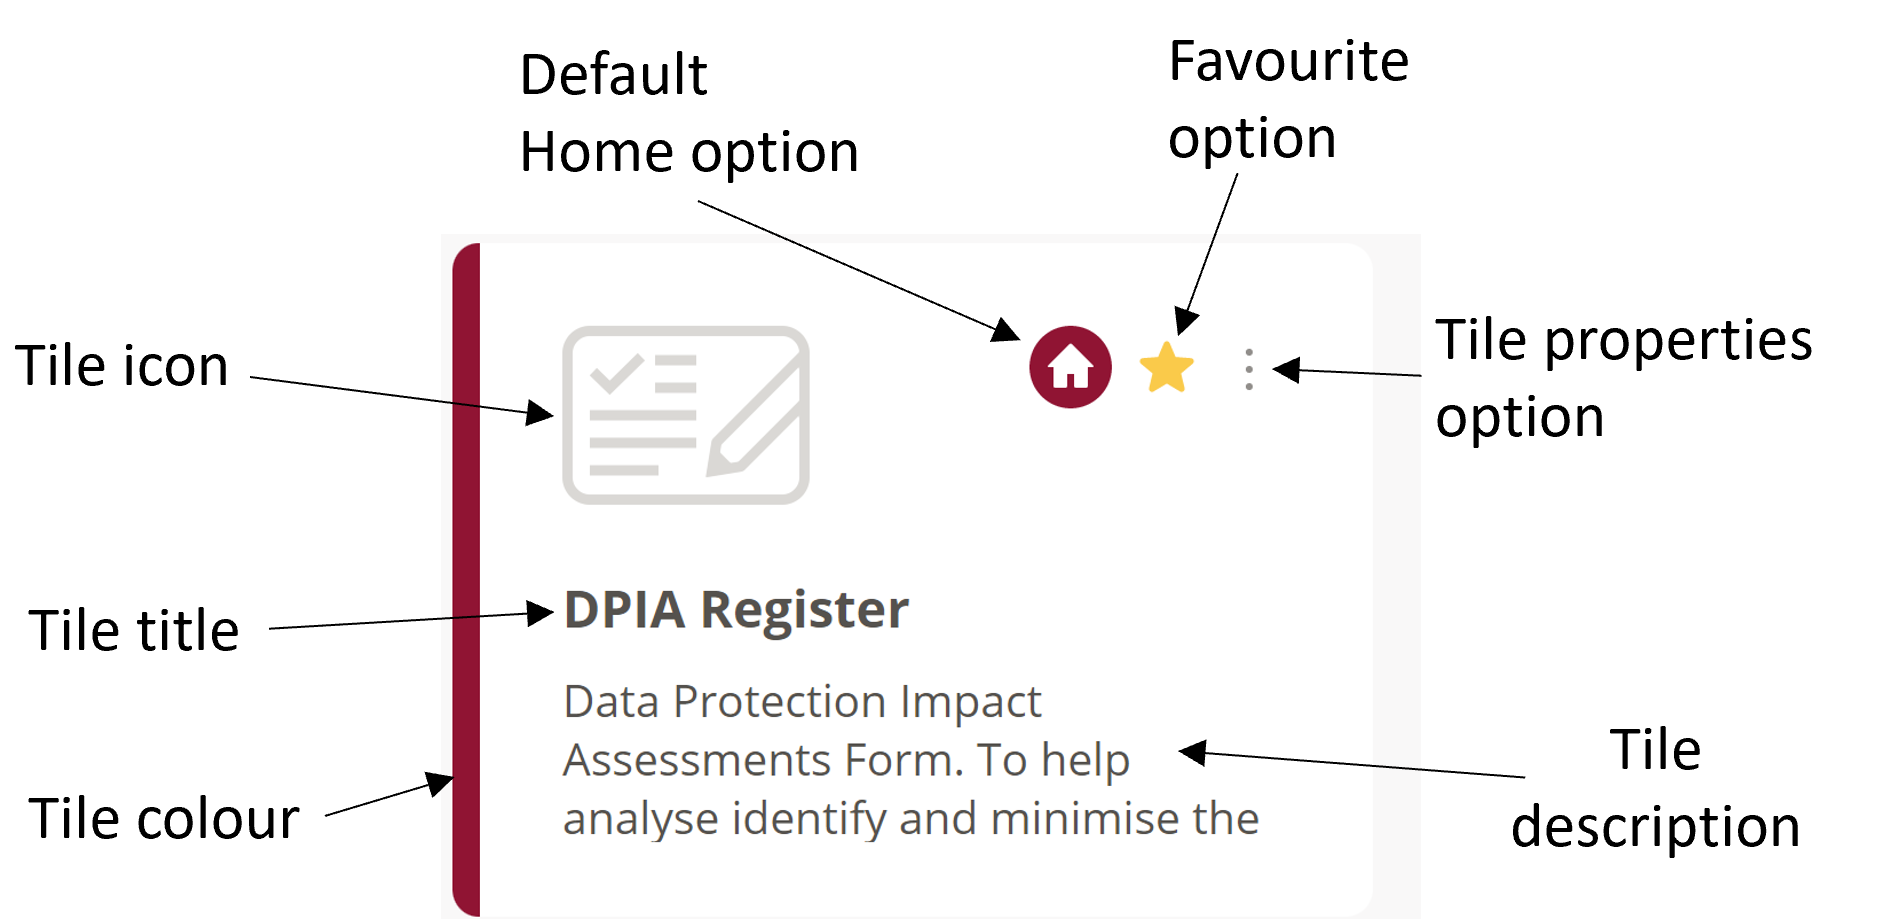
The background colour of all tiles can be modified by editing the Tile Properties. The foreground colour of the tile (icon and wording) is automatically chosen to offset the background colour. The user will require Full Control permissions to edit the colour of tile. Once set, all users will see the same tile colour.
Using a Tile
All tiles have the following attributes:
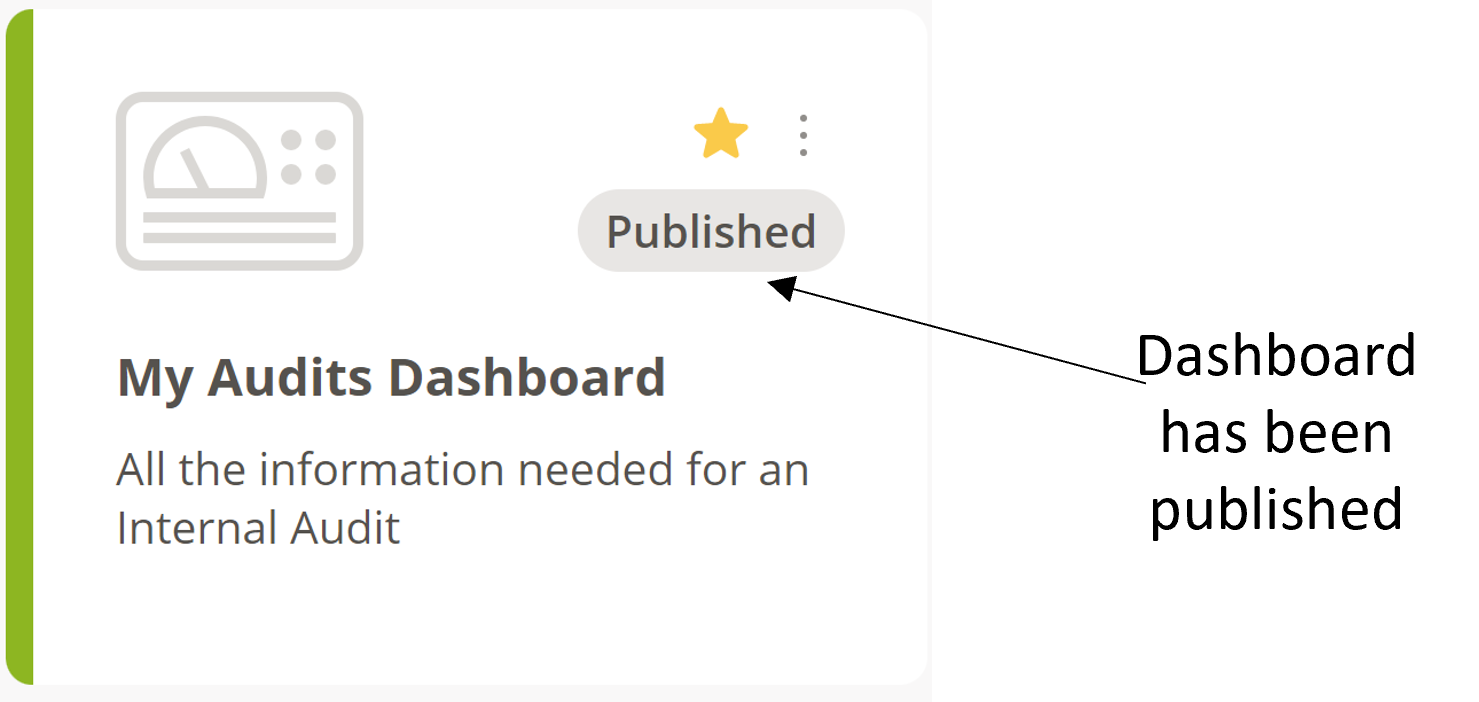
Dashboard tiles also have the following attributes:
Tile types
| Type | Icon | On Click |
| Form or Questionnaire |  |
The user will be navigated to that form or questionnaire. |
| Dashboard |  |
The user will be navigated to the selected dashboard. |
| Action |  |
The selected action will be completed. |
| GRC Application |  |
The user will be navigated to see the contents of the selected application. |
| Cyber Application (Vulnerabilities) | 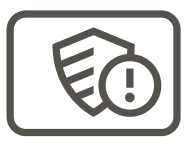 |
The user will be navigated to the desired section of the vulnerability management application. |
| Cyber Application (Assets) | 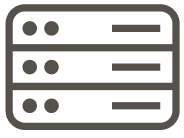 |
The user will be navigated to the desired section of the asset management application. |
| Cyber Application (Events) | 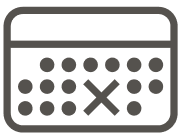 |
The user will be navigated to the desired section of the event management application. |
| Folder | 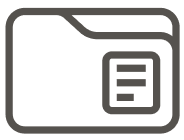 |
The user will be navigated to see the contents of the selected folder. |
Editing a Tile
All tiles have a menu that can be invoked by hovering over the tile and then selecting the ellipses icon (3 dots). If the ellipses do not appear when you hover over a tile then it indicates you do not have the required permissions to make changes to it:
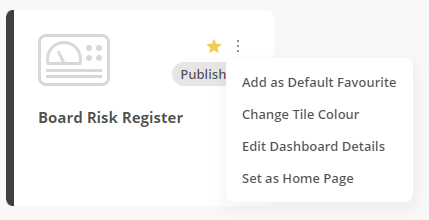
The "Add as Default Favourite" option is common among all tie types types and only available to admin users. This option allows you to set this tile as a favourite for all users.
The “Change Tile Colour” option is common across all tile types. selecting this option will display the tile colour options,
The “Edit Form” option allows the user to edit the properties of the tile This option will vary depending on the object type represented by the tile, i.e. "Edit Form", "Edit Folder Details", "Edit Dashboard Details" or "Edit Application Details".
The final option will display either "Set as Home Page" or "Unset Home Page" depending on whether the tile has been set as the default Home for the logged in user. See Setting a Tile as the Home Page.
Nav Bar
The Nav Bar is used to find Tiles of different types:
There are 5 high level groupings:
| Nav Bar Group | On Click |
| Favourites | Displays the user’s favourite tiles in the right-hand pane. A tile can be made a favourite by selecting the star icon at the top right of any tile. The star will now become permanently displayed on that tile signifying it is a favourite tile. A tile can be un-favourited in a similar manner by clicking the star icon again. The tiles can be rearranged in the favourites area using drag/drop. |
| Recents | Displays the last 30 locations that the user has visited; forms, folders, dashboards or applications. The tiles are listed in chronological order; most to least recent, and cannot be rearranged or sorted. |
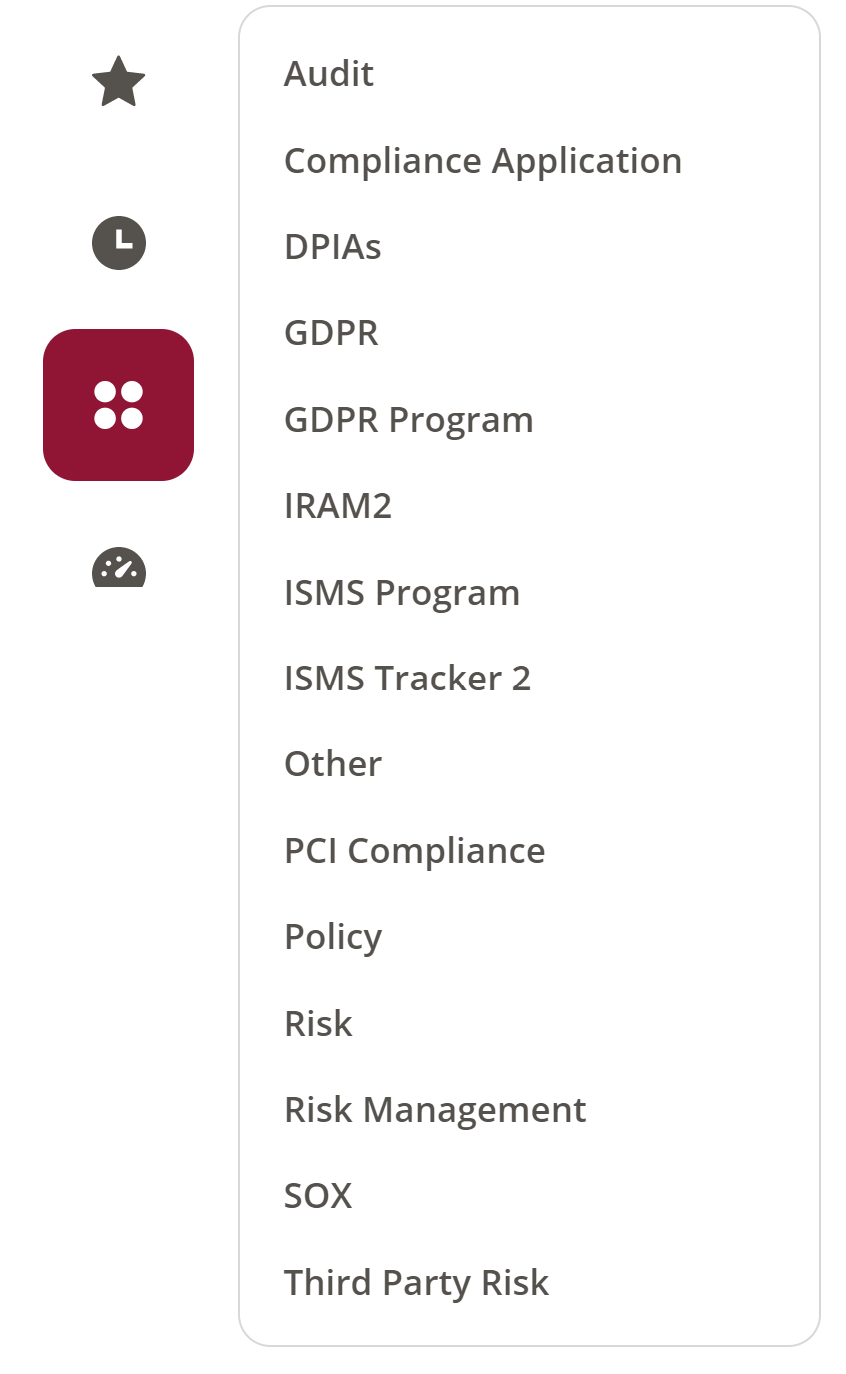
| Applications |
Displays the list of applications that the user has access to in the right-hand pane. It is possible to view an application by clicking on its name in the sub-menu. An application comprises a series of tiles representing forms, folders and dashboards. The tiles are listed in alphabetic order and cannot be rearranged or sorted. |
| Dashboards |
Displays the list of dashboards that the user has created, published or subscribed to. It is possible to view a dashboard by clicking on its name in the sub-menu. |
| Control Library |
Navigates the user to the master control library. This option is only available if the appropriate licenses have been purchased. |
Favourites
Favourites is where all your favourite tiles will be displayed. You create a favourite by clicking on the star icon on the top right of any tile.
All tiles displayed as favourites can be re-arranged on the screen to suit your preference via drag and drop. This the only place where drag and drop organising is allowed.
If you see a tile that you do not want in your Favourites, then simply click on the star icon, once again, to signify this is not a favourite.
Applications
An Application is a logical grouping of forms and dashboards that comprise any given SureCloud Application. For example, you might define an “Application” for Information Asset Management or Compliance Management or whatever you’ve decided to call your particular SureCloud application.
When you create or modify an Application, you’ll be able to choose the forms that belong to that Application by selecting one or more Collections. A collection is another term for the Application tag setting that you define on every template/form.
Once created, Applications are visible to any user, in your organisation, who has access to at least one form contained within.
Application creation and configuration:
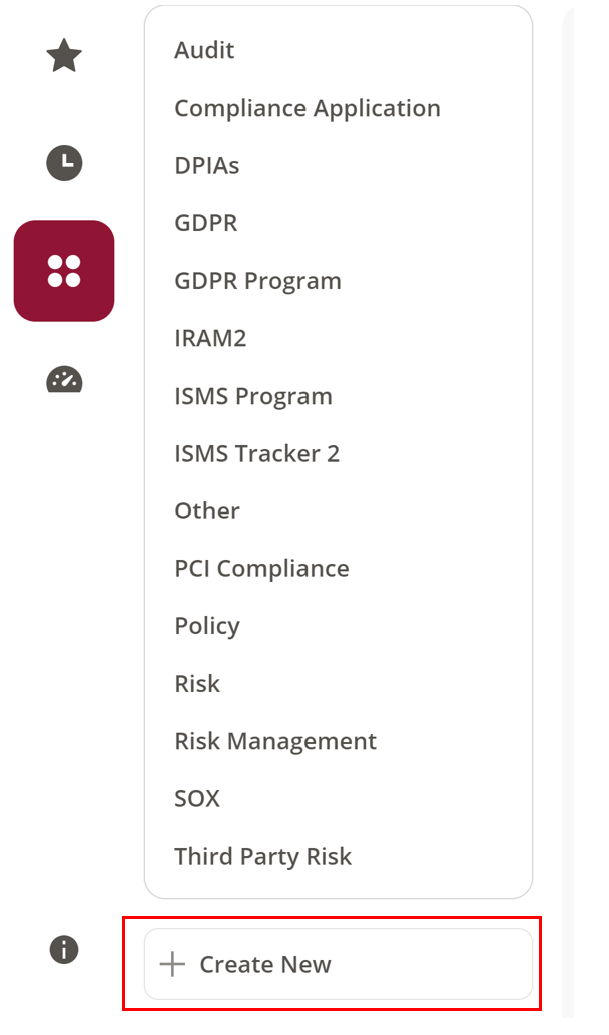
Create
To create a new application select the "New Application" option under the Application category on the Nav Bar.
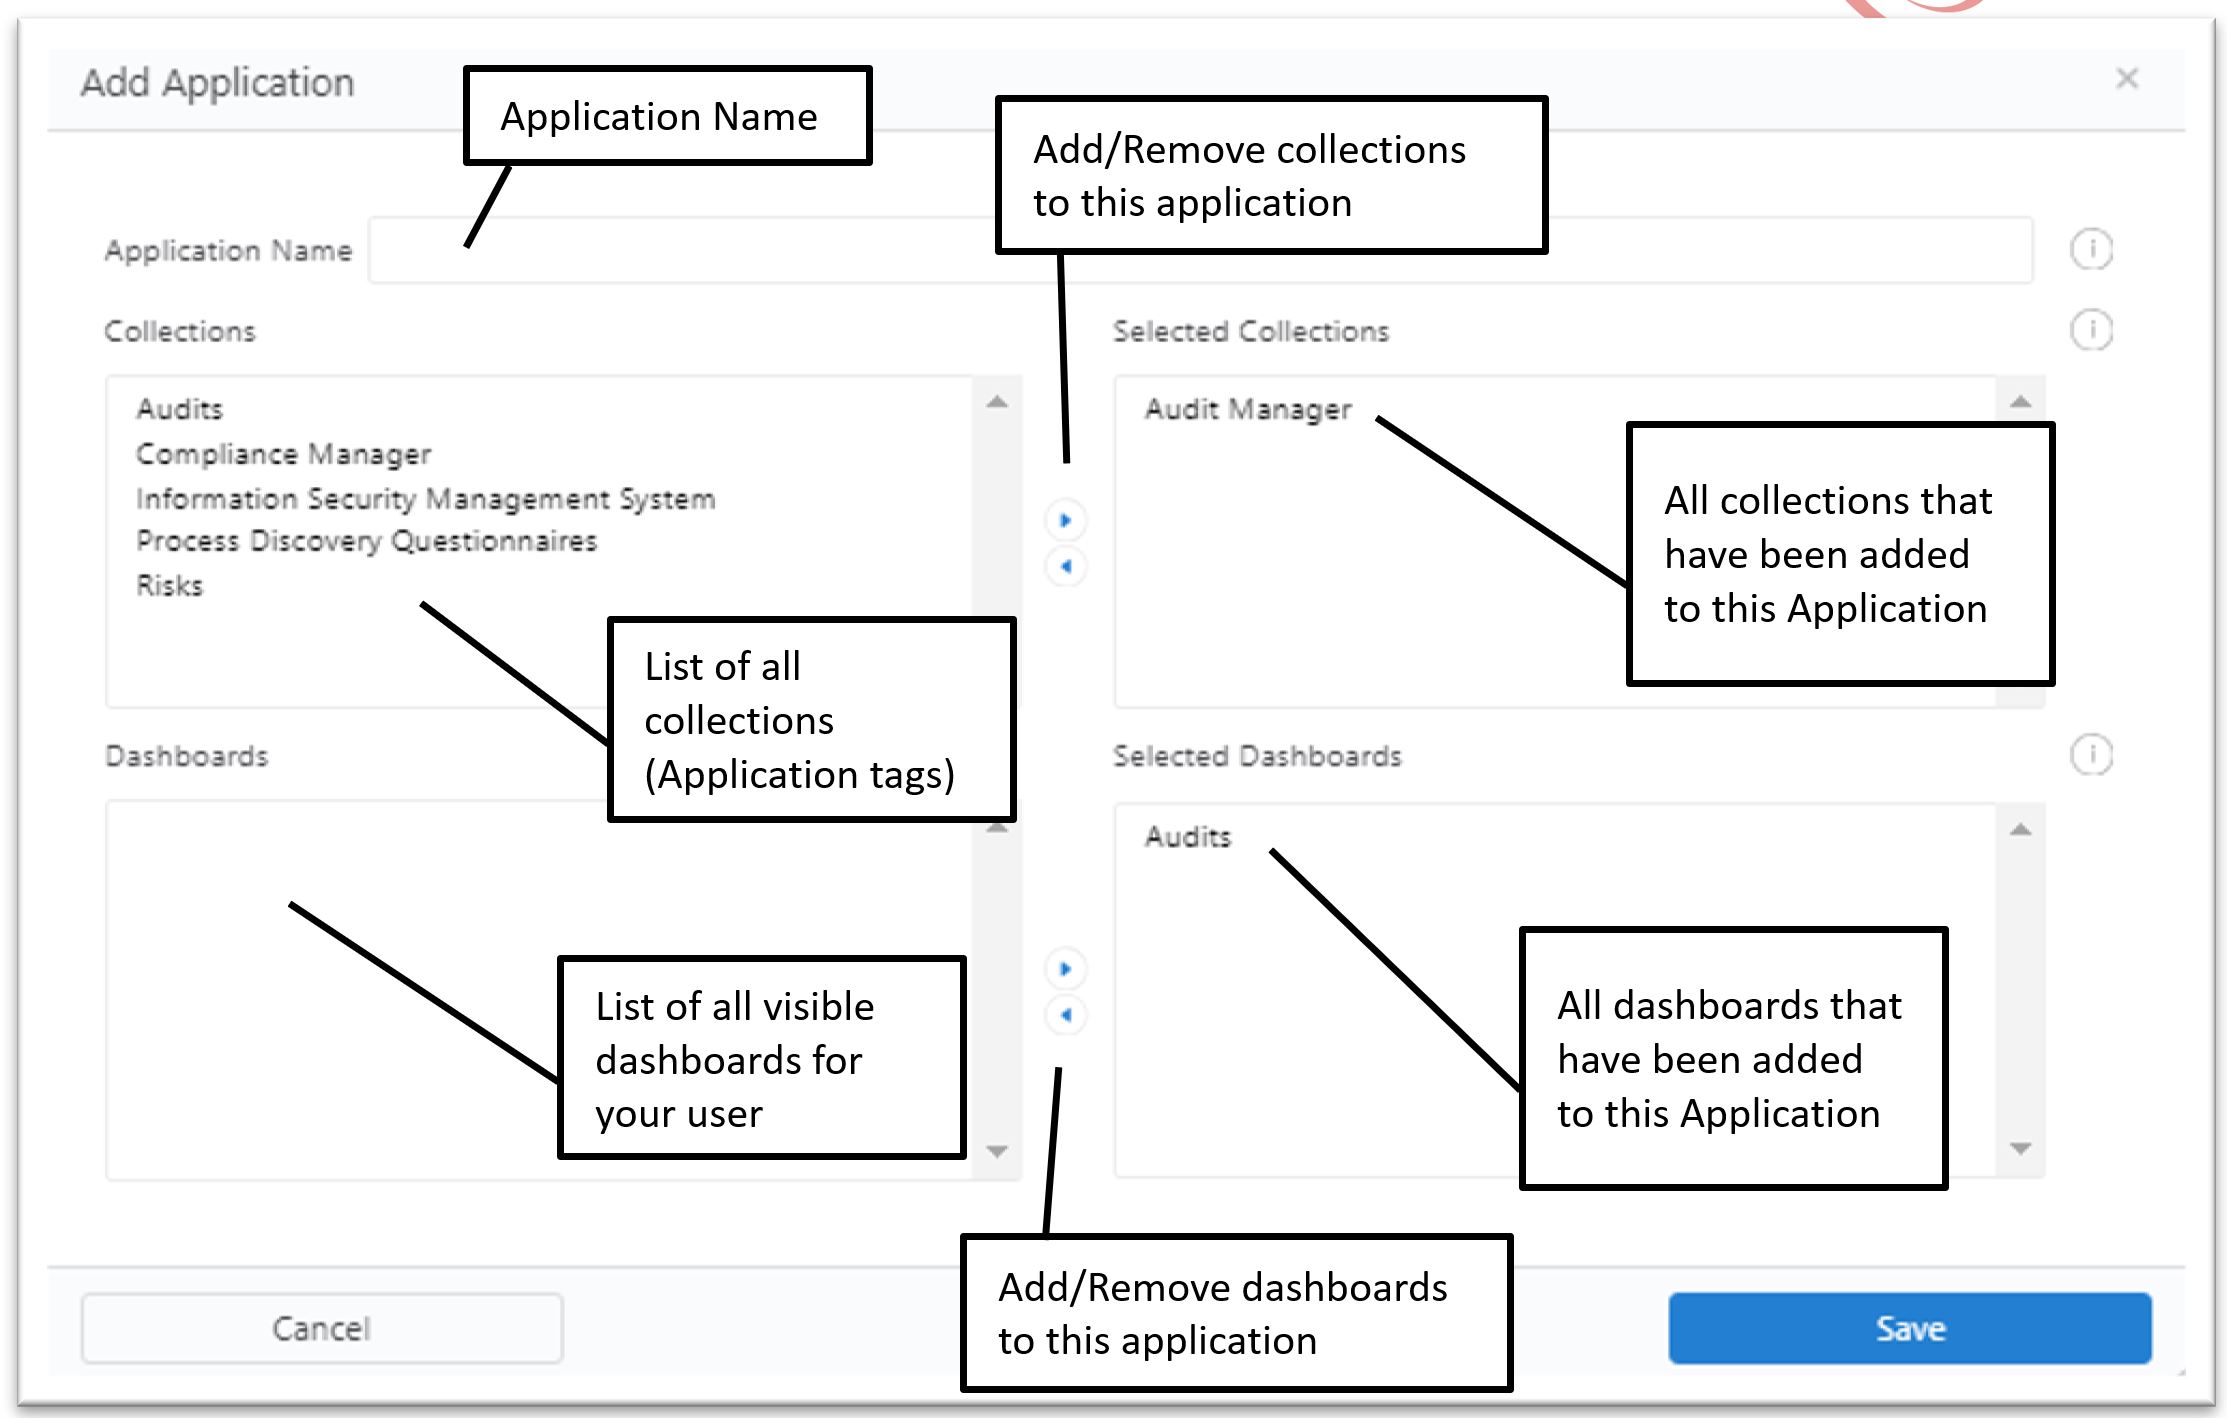
Give the application a name and then provide collections and dashboards that belong in that application. Use the left and right arrows on both Collections and Dashboards to move relevant items to the right hand side (which indicates they are now part of this application).
Edit
To edit an application select the ellipses (3 dots) menu against the application you wish to edit and select "Edit Application"
The Create and Edit application configuration screen is exactly the same:
Comments