Creating a User
Administrators can create a new user within the platform by doing the following:
- To create a user, navigate to the user tab (for more information, see here)
- Navigate to the add user icon
 to open the new user creator:
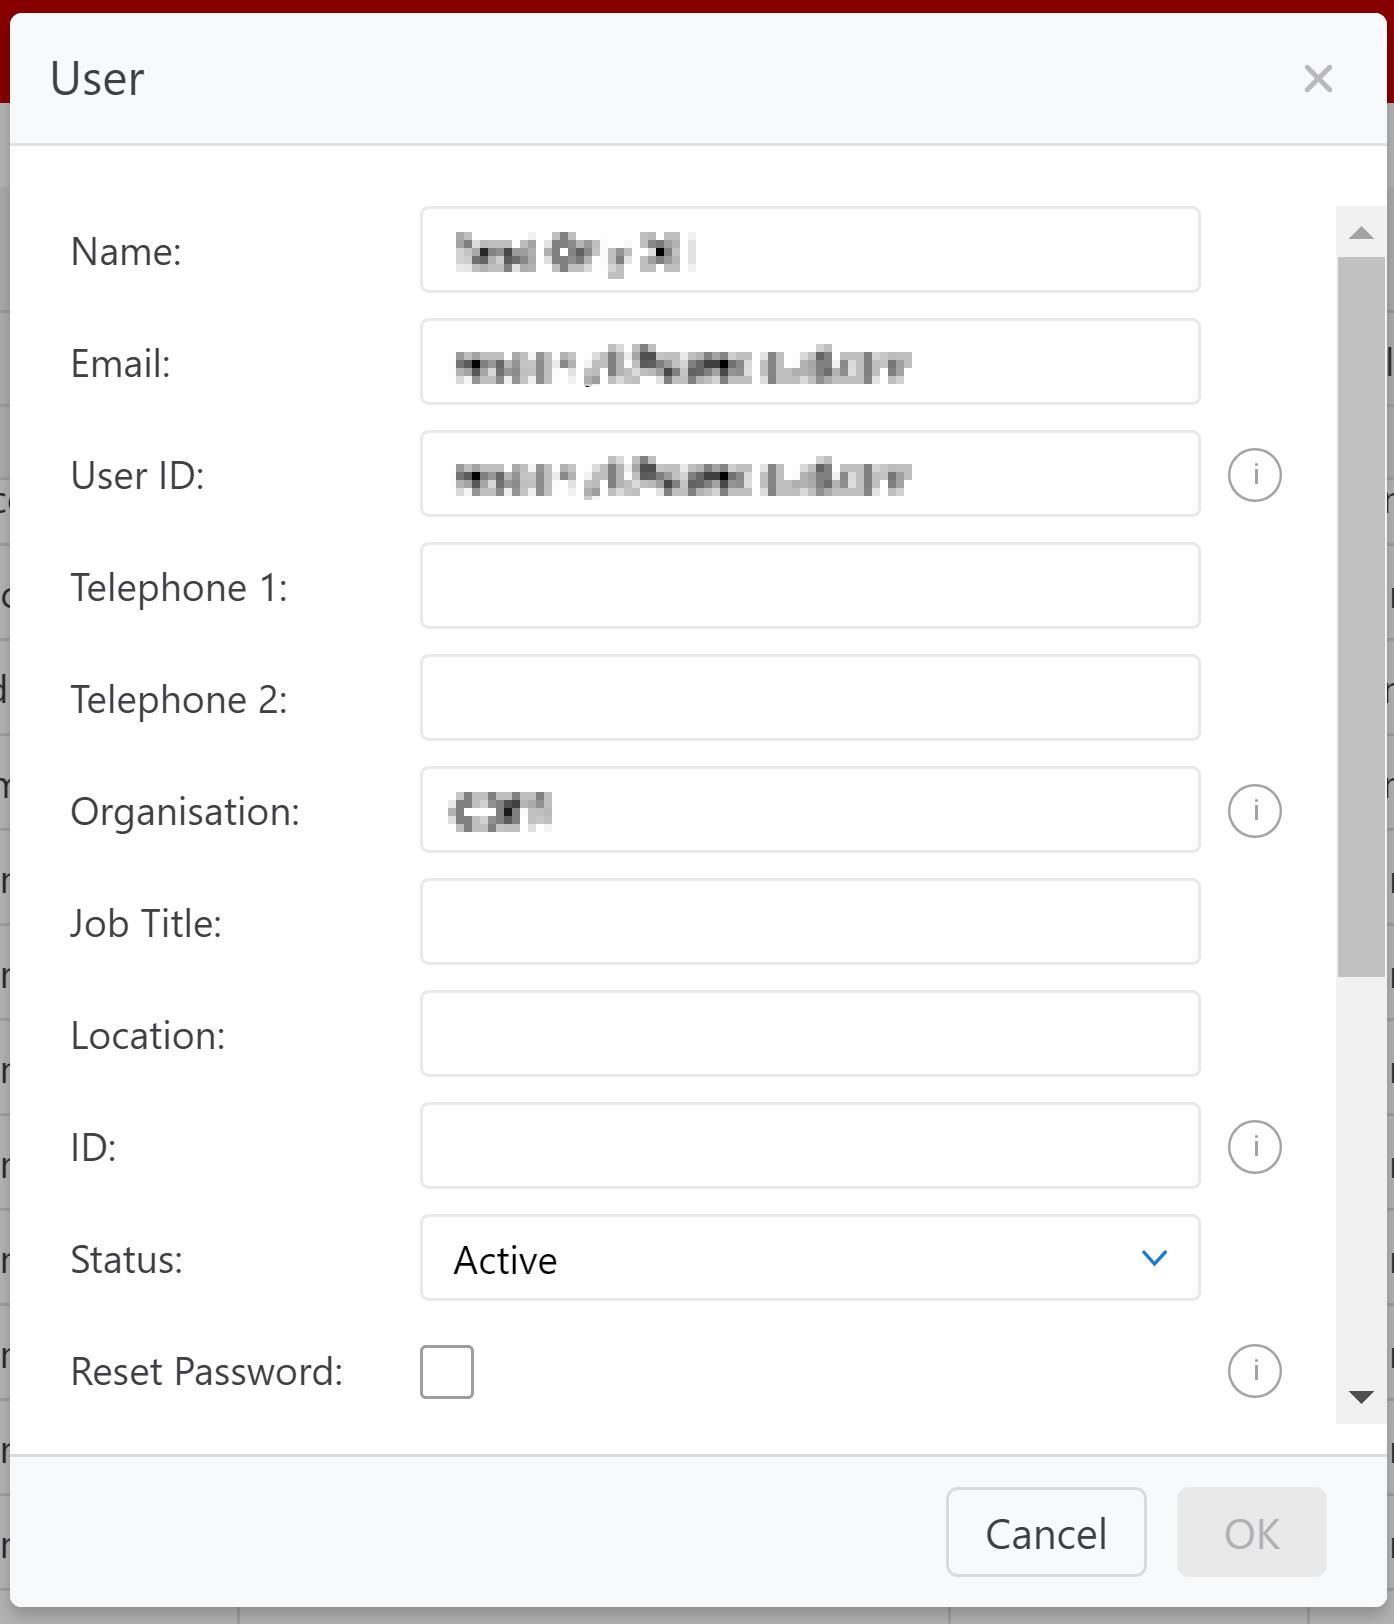
Within these fields you can choose how a user is set up. The following fields are specific to the user details: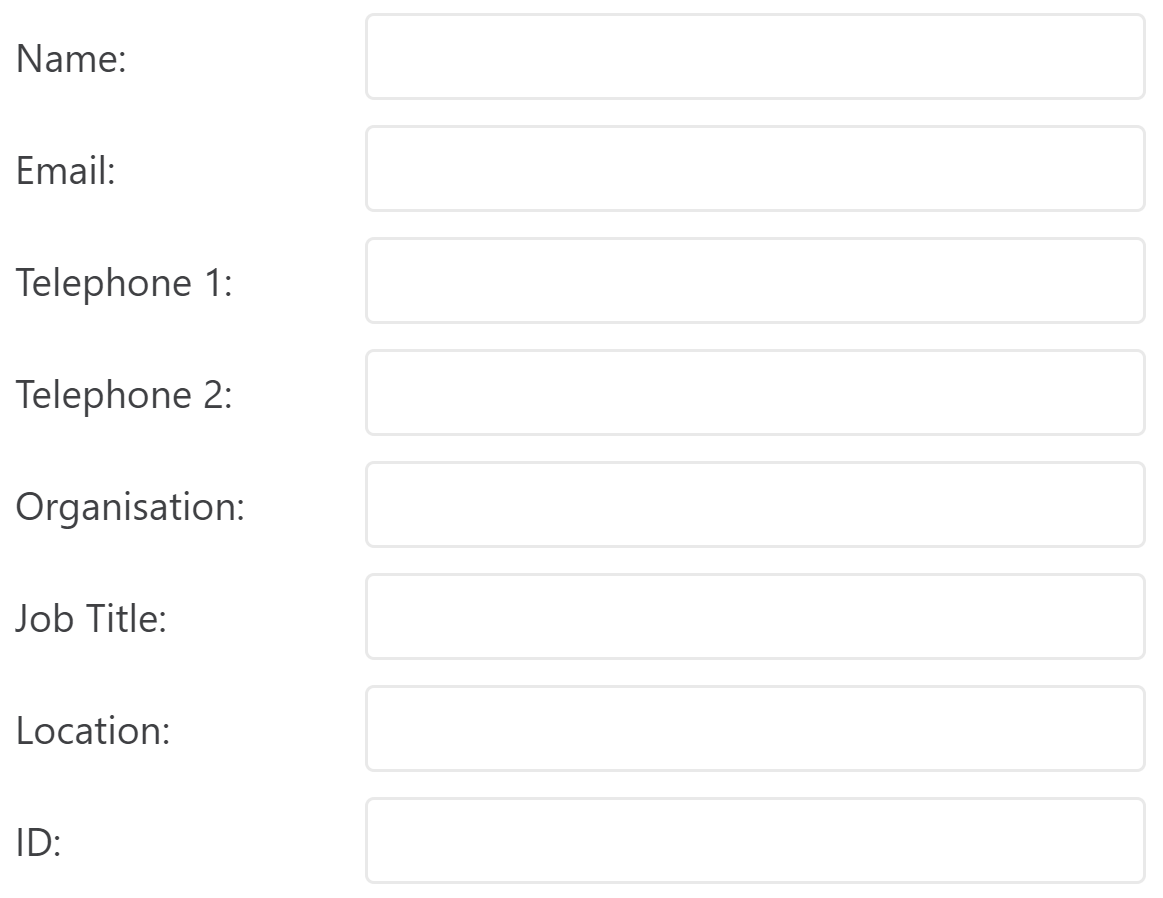
Then the following details depend on what permissions you wish to give to the user.
Status
There are two options available for Status:
- Active: if this option is chosen, the user will be sent an email inviting them to setup a password to gain access to the platform
- Pending: this option should be chosen if the users details are being stored, but the user does not yet require access to the platform
Role
There are three options available for users to be setup on for the GRC platform:
- Administrator:
- Full access to organisation details
- Can setup new Users and Groups
- Can manage folders and permissions in the Library
- Manager:
- Has access to Dashboards, Applications, Library, Support and Tasks
- Can specify access to GRC or Cyber Security areas
- Contributor:
- Has access to Applications (specified forms only), Support and Tasks.
- No access to Dashboards nor Library.
Type
This option is available exclusively to the contributor user role. There are two types:
- Internal: this is for any users within your organisation
- External: this is for any users outside of your organisation, such as third parties
Manager
This option lets you choose the users' manager from the current list of users within the system - this can also be inputted as 'None' if not applicable.
Denying Applications/Security
These options come up as follows:

Security refers to SureCloud's CyberSecurity products, whereas Applications refers to SureCloud's GRC products.
Disabling An Active User
User administrators can disable a user by following these steps:
- Navigate to the users tab
- Find the user you wish to disable, and click on
 next to the user's name
 - Within the user menu:
- Looking at the Status option, you will have the following options: Active or Disabled
- To disable the user, change the status from Active or Disabled
Viewing Disabled Users
In order to view users which have been disabled, click on "Active or Pending" underneath the Status heading:

A status filter pop-up will then show. Click on "All" to show all, including disabled users, or use the drop-down to select what types of users to show, and click "Ok".

Designer Access
If you select Administrator as the role of a user, a checkbox will appear called Designer. Checking this box enables a user to edit an organisation's templates that forms are based on.
Comments