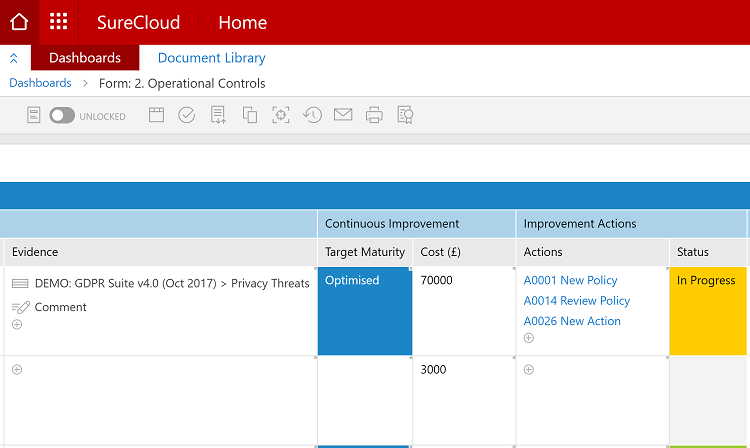
Data can be added directly to a Form itself, imported from other Forms, imported directly from Excel or added via the Offline Excel facility.
All the cells that you can edit are shown with a small grey square in the top right corner. See below. Cells that have mandatory cells to complete are marked with a red square in the top right corner.

As different users can have different editing permissions, another user may see a different set of grey squares.
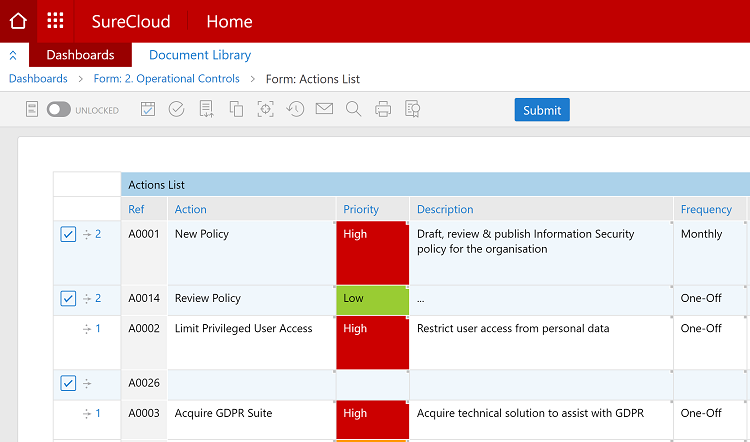
The screen shot below shows several different types of Responses. Not all can be edited.
While you are editing one cell, the rest of the sheet is “greyed out”. You must finish editing the current cell before you can do anything else on the form.

Types of Responses
When you click in a cell which can be edited, what you see depends on the type of Response the Form has in that cell.
Text/Value
You will be presented with a box in which to type or paste characters. See below:

You can enter text or numbers, edit any existing text or delete existing text. Clicking on the green tick to the right of the edit box will commit your changes to the form. Clicking on the cross will quit editing without change.
In the case of a value field, or drop-down lists, you can also commit changes by hitting the return key on your keyboard. This doesn’t work for a text field because it gives you a carriage return instead.
If a value field already has content which is too large for the cell, the content will end with an ellipsis (…).
Date
You can choose to select from a calendar, or type in a date. The default calendar is the current month. As the user interface resolves the date, it will display the appropriate month in calendar form.
Clicking on the return button or a date in the calendar will commit the changes. If the text entered in the box cannot be resolved as a date or is not in the correct format, and the user presses the return key anyway, the current date will be put in.
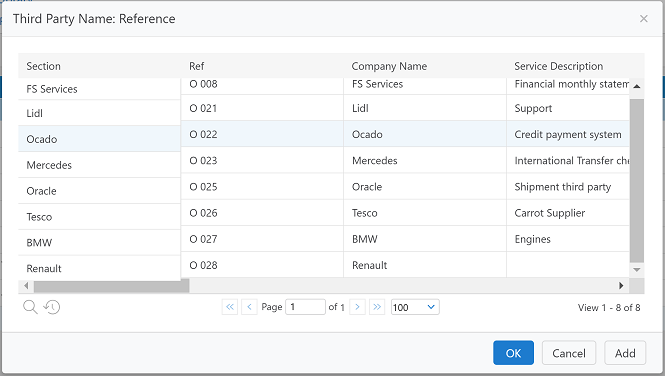
Reference
You will be presented with a list derived from another Form.
Single-select reference field:
Multi-select reference field:
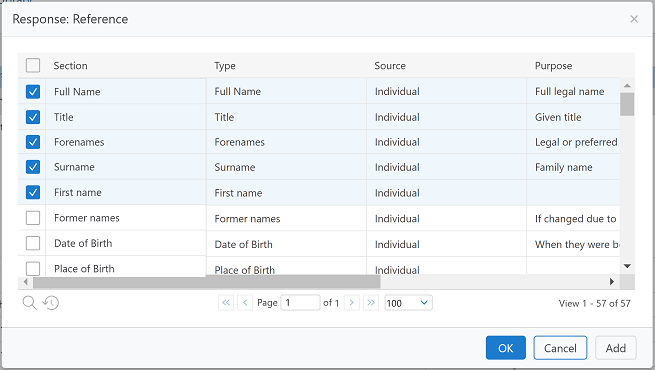
Click on a row to select a Response. The selected row is highlighted in blue and the first column shows the value that will be inserted into your Form. When you are happy with the selection, click on OK.
Adding a Reference Response
Sometimes when using a reference form, you may wish to add a new response to refer to - for example, a new action assigned to the control you are reviewing within your organisation. In order to do this, complete the following:
- Navigate to the form and reference field you want to select from.
- Select the add icon
 to bring up the reference selection pop-up field:
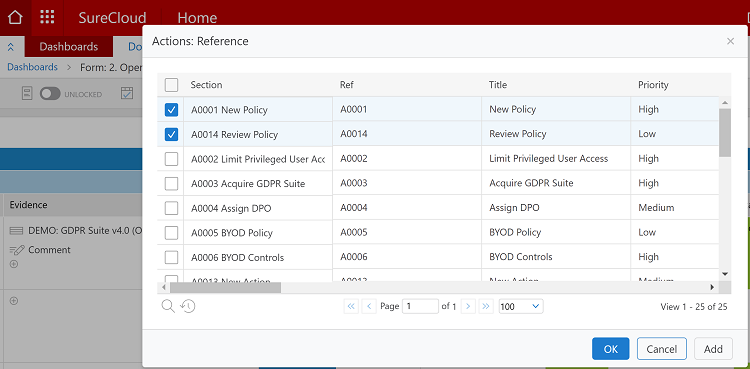
- Click the Add button to go into the reference form where you will add the new answer:
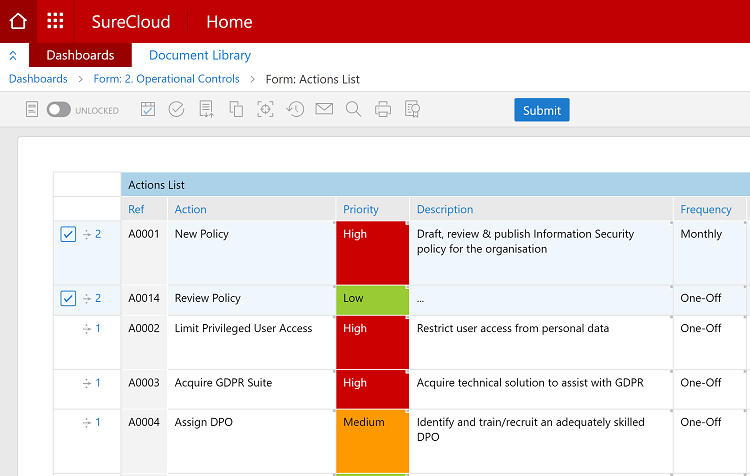
- From here, click the insertable icon
 to add new information as normal.
 - Hover to the left of the row you have just inserted, and click on the check box which appears:
- Once you have checked all the fields you wish to reference, click on the Submit button. This will now appear in your reference field:
Note: You need edit/update access to the reference form to add a new answer.
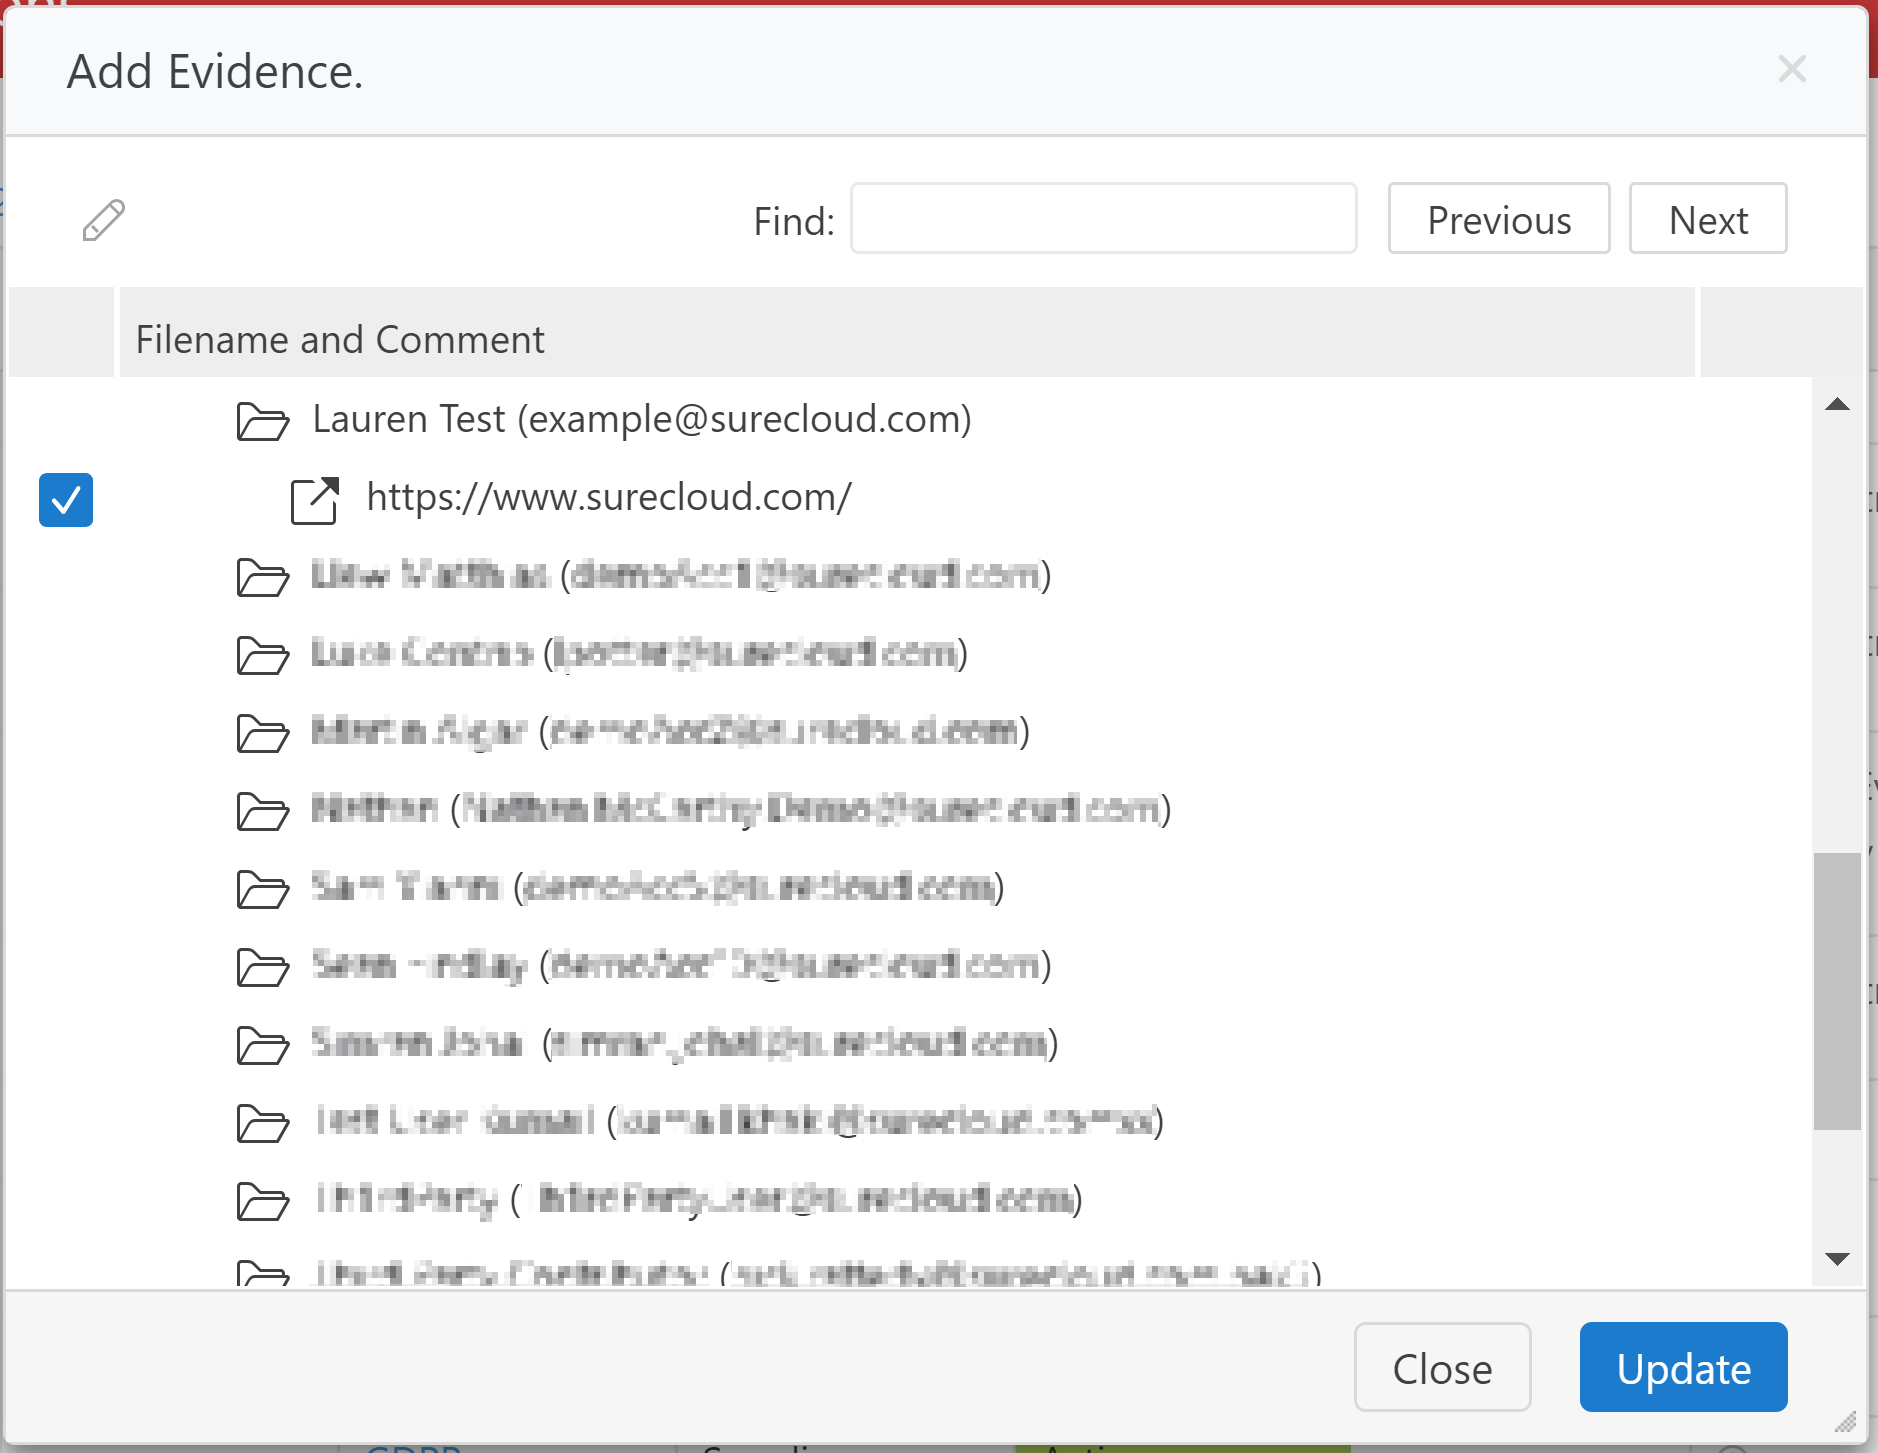
Evidence
Clicking on the Add Evidence ![]() icon brings up a pop-up box. This gives the options to upload and attach files and/or comments to the Form as shown below:
icon brings up a pop-up box. This gives the options to upload and attach files and/or comments to the Form as shown below:
Mandatory Fields
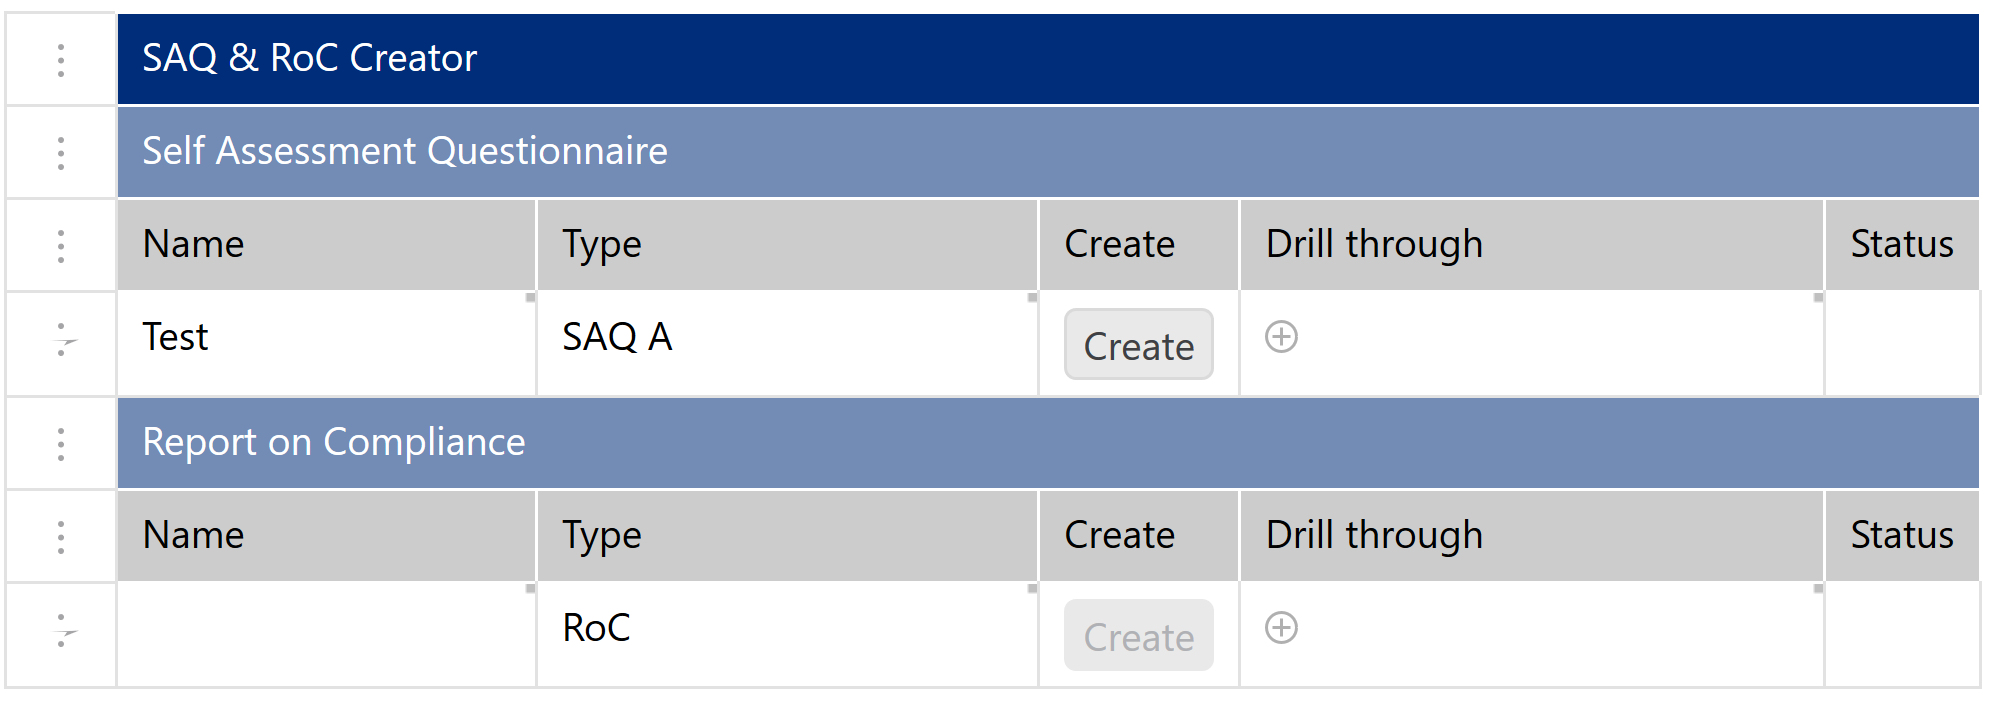
It is common that certain fields must be filled in before you can move onto the next step. For example, when completing a DPIA or filling in information before building a third party assessment. Below is the SAQ/ROC Creator form from the PCI Compliance Manager suite.
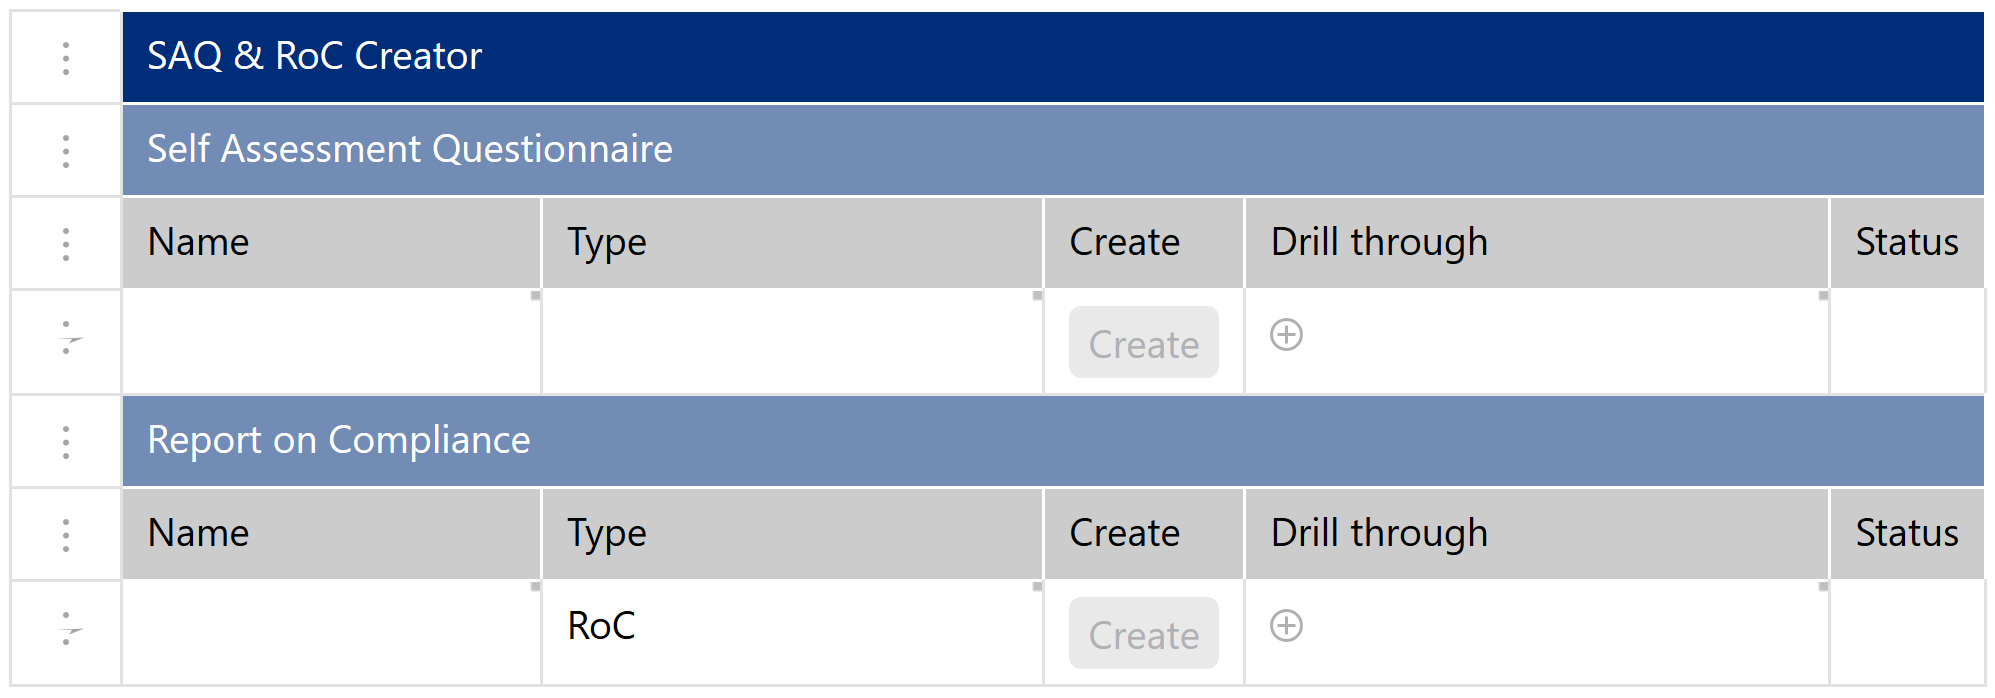
Currently, the Create button is unavailable. In order to make this available, the Name and Type fields must be filled in.
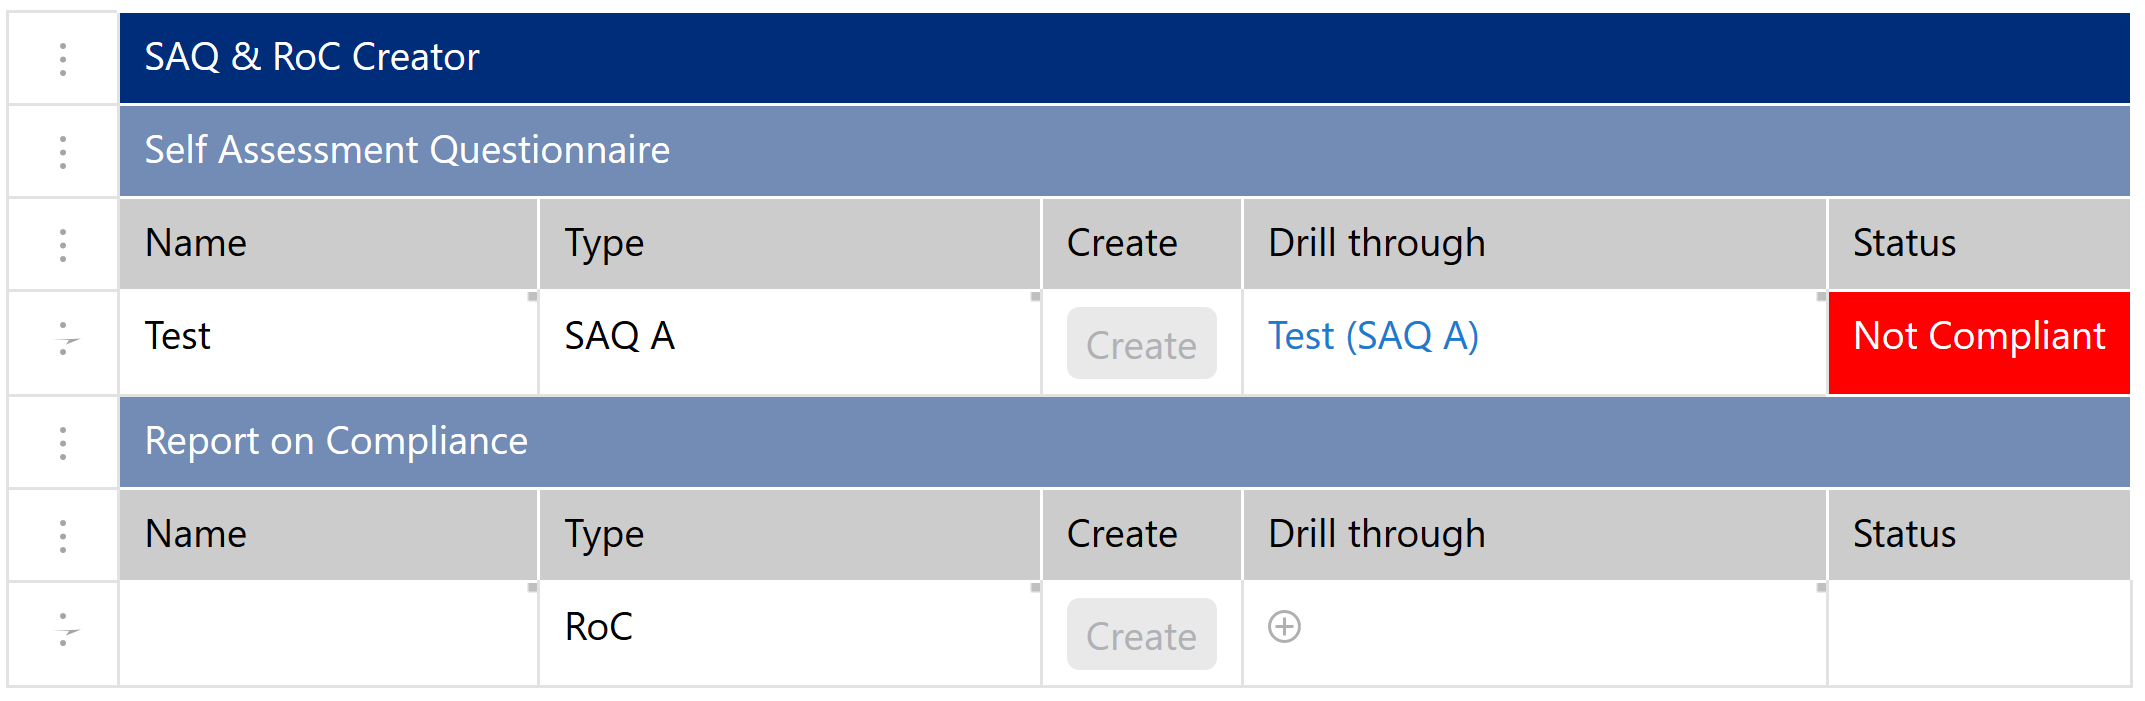
The Create button is now available, meaning the Drill through can be created.
Comments